Organizing a chest freezer can feel like an overwhelming task. Unlike upright freezers, chest freezers store items from top to bottom, often leading to a chaotic pile of frozen goods.
But fear not! With a few simple DIY chest freezer divider ideas, you can transform your freezer into an organized and easily accessible space without spending much money.
Here’s how to make dividers for a chest freezer using common household items and some clever tips.
Why Make Your Own Chest Freezer Dividers?
Creating your own dividers for a chest freezer is an easy and cost-effective solution. You don’t need to buy expensive pre-made dividers or organizers.
In fact, materials like cardboard or unused boxes lying around your home work perfectly to section off different areas of your freezer.
From my own experience, I’ve found that thin materials, such as cardboard, are ideal for making dividers. They are easy to cut to size, don’t take up much space, and provide enough separation to organize your items into neat sections.
The great thing about using DIY methods is that they’re flexible—you can adjust the dividers as your freezer contents change over time.
Effective Materials for DIY Chest Freezer Dividers: Cardboard vs. Plastic
When deciding how to make dividers for a chest freezer, one of the first considerations is material. Two popular options are cardboard and plastic.
Cardboard
This is by far the most accessible and budget-friendly material. It’s lightweight, easy to handle, and most of us have it around from leftover boxes.
From my experience, cardboard is an excellent choice because it’s thin enough to avoid taking up valuable space but sturdy enough to keep different food items organized.
Plastic or PVC
Some people prefer using plastic or even thin PVC sheets for durability. While these materials offer more longevity, they aren’t necessary unless you need a more permanent solution.
I’ve noticed that solid plastic dividers can sometimes cause freezer bags to stick, especially when the plastic hardens at freezing temperatures. That’s where some people argue for using materials with ventilation, but in reality, airflow is not essential for freezer dividers.
Whether you go with cardboard or plastic, the key is to use materials that don’t clutter the space but still divide it effectively.
Organizing Your Freezer: Vertical Dividers for the Win
One of the most common mistakes in chest freezer organization is trying to create levels. While it might seem logical to have layers (placing meat at the bottom, vegetables in the middle, etc.), this strategy often leads to frustration when you need to access something buried at the bottom.
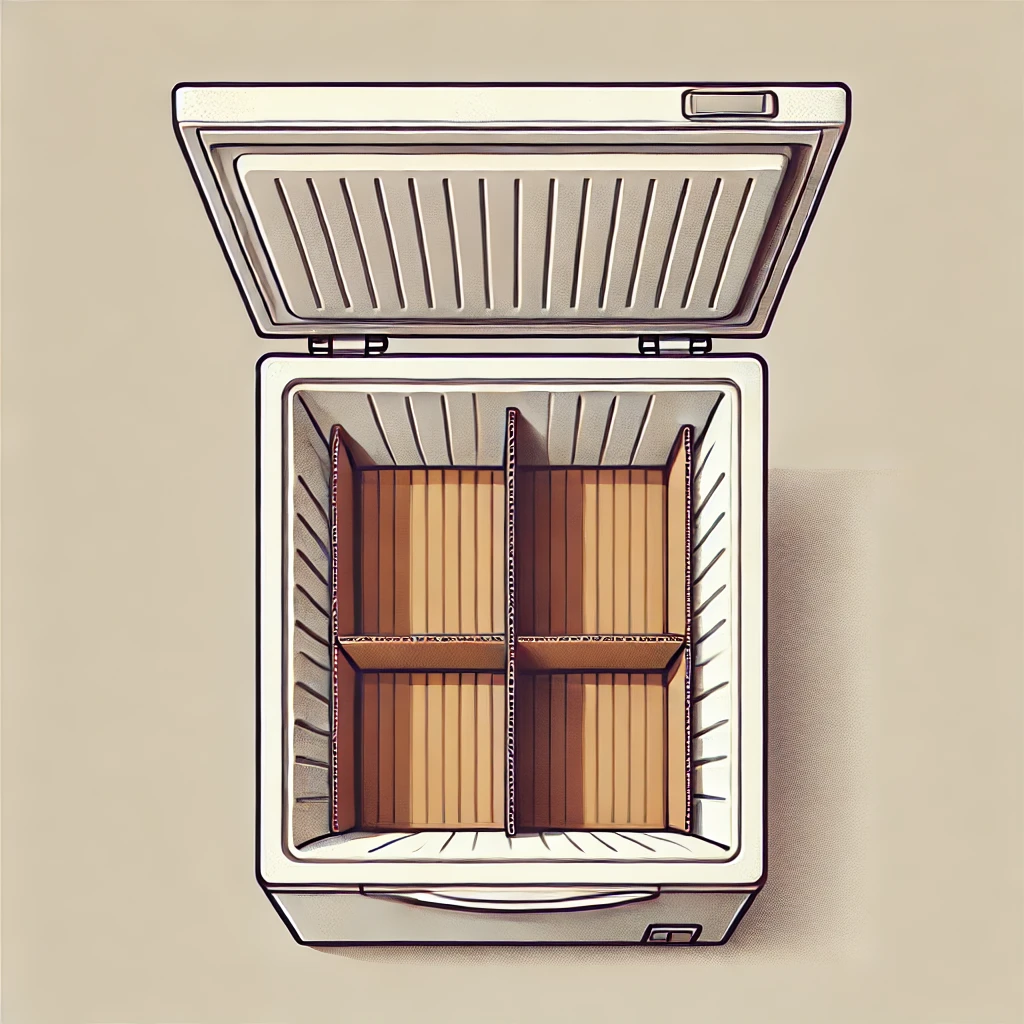
A better approach is to use vertical dividers, which allow you to separate your freezer into easy-to-reach sections. Based on my experience, this method is much more practical. Vertical dividers help you create different zones for various food categories—meat, vegetables, frozen meals, or snacks—without the need to dig through layers.
For example, if your freezer is large enough, you could divide it into four sections:
- Frozen vegetables and fruits
- Meats and poultry
- Snacks and easy-access items (like ice cream or frozen pizzas)
- Meal prep containers or leftovers
Using these vertical dividers not only saves you time when finding items, but it also helps you maintain an overview of what’s in your freezer, reducing the chances of food waste.
Using What You Have: Cheap and Easy Chest Freezer Divider Ideas
The beauty of DIY projects is the ability to use what you already have. You don’t need fancy or store-bought dividers to get the job done.

Some of the best chest freezer divider ideas involve repurposing household items.
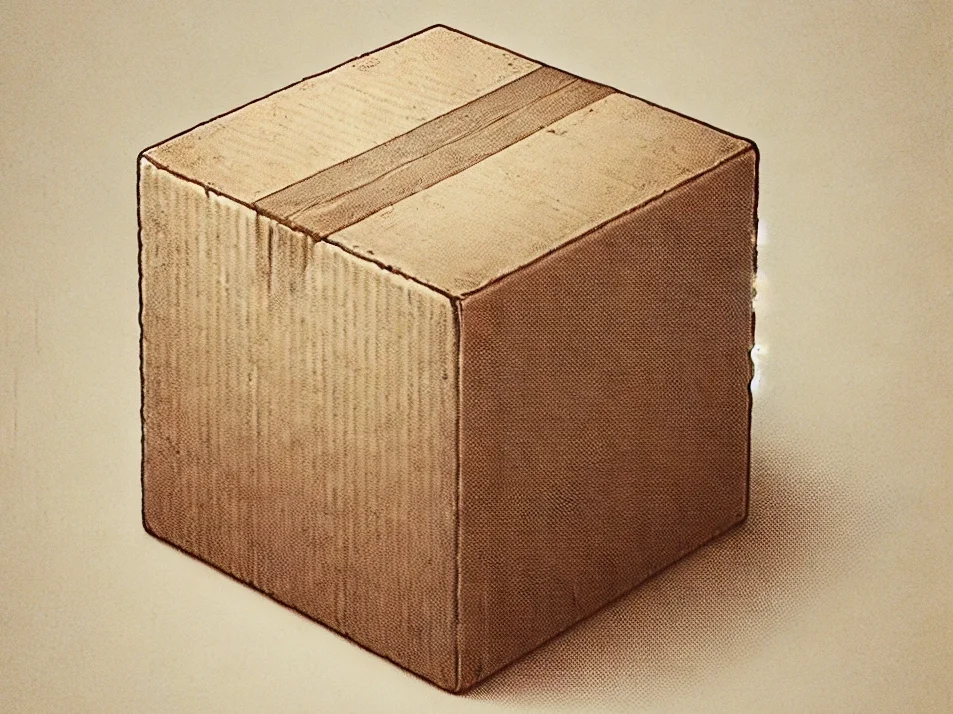
- Cardboard boxes: As mentioned earlier, cardboard is a versatile and cheap material. You can easily cut old shipping boxes into sections that fit your freezer interior dimensions.
- Plastic crates or baskets: If you have extra plastic crates or storage baskets lying around, these can also serve as dividers. Just ensure they are the right size to fit comfortably inside the freezer.
- Tote bags: Another creative way to section off areas is by using reusable grocery bags or tote bags. You can designate a bag for different types of frozen items (e.g., one for vegetables, one for meats). This also makes it easier to lift everything out at once when you’re looking for something specific.
To Vent or Not to Vent: Debunking the Myth of Airflow in Freezer Dividers
You might come across advice suggesting that dividers should have “airflow” or ventilation holes to prevent frost buildup or sticking. From my experience, this is more of a preference than a necessity.
Chest freezers don’t require airflow between dividers to function correctly.
That being said, I have noticed that solid boxes without ventilation can sometimes stick to plastic bags, which can be a hassle when you’re trying to quickly grab something.
If this is a concern, using dividers with small openings or “vents” can help prevent this issue. But if you’re opting for cardboard or thin plastic, the chances of sticking are minimal, so you’re likely fine either way.
Creative, Affordable Ideas for Dividing Your Freezer into Functional Sections
The goal of dividing your chest freezer is to create functional zones that are easy to manage. Here are a few additional chest freezer divider ideas to try:
- PVC pipe dividers: Cut sections of thin PVC pipe to create quick and adjustable dividers. These can be inserted vertically to create compartments without taking up much space.
- Foam board dividers: If you’re looking for something a bit sturdier than cardboard but still lightweight, foam boards are an excellent option. They’re inexpensive, easy to cut, and available at most craft stores.
- Reuse drawer organizers: Drawer organizers from your kitchen or bathroom can be repurposed as freezer dividers. They’re already designed to hold items in small spaces, so they work well inside a chest freezer.
Conclusion: Keep Your Freezer Organized on a Budget
In conclusion, DIY chest freezer dividers are an excellent way to bring order to your frozen goods without spending much. With simple materials like cardboard, plastic crates, or even tote bags, you can create an efficient and practical freezer organization system.
How to make dividers for a chest freezer doesn’t have to be complicated—just get creative with what you already have at home. Vertical dividers work best for sectioning off different categories of food, and whether you choose materials with or without airflow, your freezer will remain functional and organized.
By implementing some of these chest freezer divider ideas, you’ll be able to maximize your freezer space, reduce food waste, and make meal planning easier.
